So you want to practice self care but you’re just not into facials and pedicures…?

Do you need simple ways to prioritise yourself when it feels almost impossible to squeeze another thing into your day?

Here’s a few easy self care ideas:

Simplify

Declutter your current commitments and see if there’s anything you can let go of, delegate, outsource, or put on hold for a little while. You may want to look at both your personal life and/or your business.

Breathe

Make the most of those little moments when you are idle and waiting for something. Take 5 big deep intentional breaths in and out.
THOSE BREATHS ARE FOR YOU. It’s an opportunity to be present and just be with yourself.
.ie. waiting at school pick up, after school activities, on public transport, stuck in traffic, or waiting for the kettle to boil.

Night time rituals

Create a night time routine or ritual for yourself. It doesn’t have to be a 2 hr bubble bathing face masking pampering sesh (unless you want to!). Making the decision to do something for yourself can shift your energy and your mood.

  • take 15-20 minutes to craft, read, journal, or have a herbal tea
  • do a few gentle yoga stretches before you hop into bed
  • sit on the side of your bed and take a few more of those deep intentional breaths

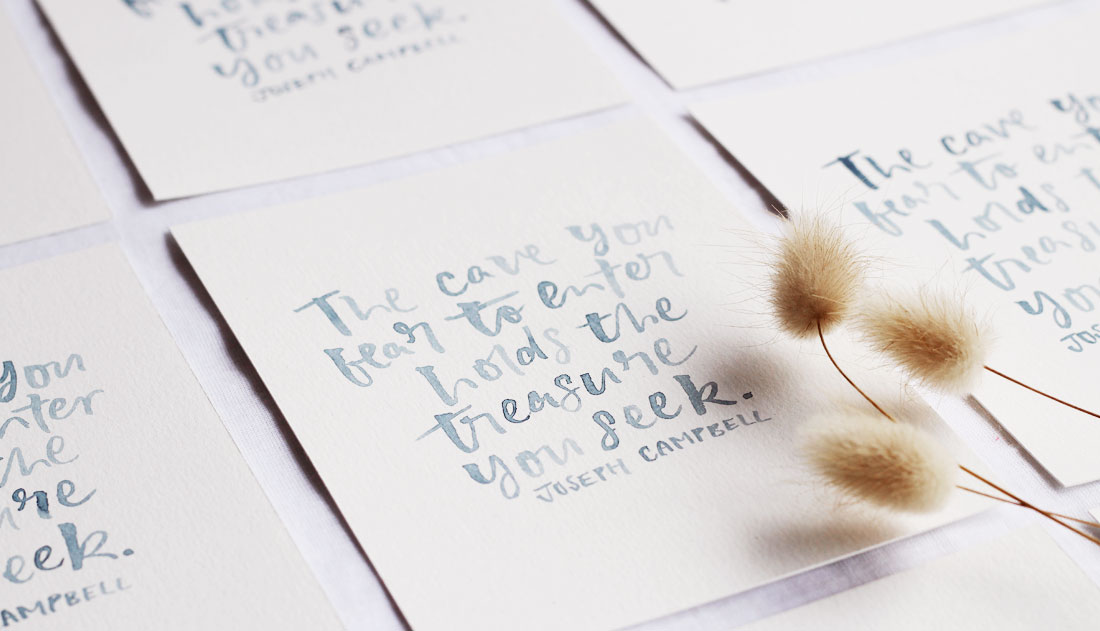
The actual self care activity is secondary to the INTENTION in which you are doing it.
The intention to be kinder to yourself is where the magic begins.

How will you be kinder to yourself this coming week?


Is it possible that no amount of planning, reading, journaling, reflecting, online programs, free webinars (aka extra long promos) or big chats with your bestie will make you feel 100% ready to do “the thing”?

Maybe it‘s not even about being ready. Maybe it’s about taking a leap of faith and BELIEVING you have the smarts to figure it out along the way?

Almost every biggish pretty important thing in my life, I didn’t feel ready or “qualified” for.

Examples of a few of my real life non-readiness:
  • my driving test (other drivers probably weren’t ready for me either)
  • every exam I ever took at university
  • every new job I ever started
  • having children (and parenting in general..!)
  • buying a house, then building a house
  • charging money for my work
  • Christmas… every. single. year.

See. NEVER ready. But it all worked out okay.

Your time to shine is right now. Go do the thing.!!

What’s something you want to do right now but you want to wait until you feel MORE ready?


I expressed my interest in a design project yesterday without knowing too much of the details. Almost immediately afterwards, I felt a sense of dread and regret that I’d put myself forward. The fear. The anxiety. I thought to myself, please pleeeease, DON’T PICK ME!!

Why do I do this to myself!?

The dread and anxiety was my intuition telling me it wasn’t right. A misalignment between my heart and my head. My gut feeling. My *inner stink* as my youngest used to call it… aka instinct.

Sometimes, I mistake my intuitive `no’ for the nervous fear of being out of my comfort zone…so I try push through and challenge myself.

But how do you tell normal nervous resistance (i.e. intuitive YES), from a true intuitive NO (ie don’t do it!)?

Here’s a few things I’ve noticed about an intuitive YES [..go for it..!]:

  • you feel scared, but you’re still excited to do it
  • you start daydreaming about what life would look like if you went ahead with it
  • even though everyone you’ve asked (and you’ve spoken to A LOT of people) says not to do it, you still kinda want to
  • even after you decide you’re definitely, DEF-initely NOT doing it, you keep thinking about whether you still should

Have any of these happened to you? How do you tune into your intuition?


Stay with me if you want an introverted newbie’s coping strategies for talking on camera on Instagram stories!

For the past month, I’ve been making myself do a video story once a week. Though I’ve often questioned if it’d REALLY help people “know, like and trust” me? What if it makes them DISlike me instead? Is anyone even interested in what I’m saying?

Doubts and discomfort aside, I decided to prove to myself I can do it.

So, here are 5 newbie coping tips for talking on camera in Instagram Stories:

1. Do lots (and lots) of takes.

My first attempt, I did 10+ takes, easily. And min 1.5 hrs before I posted the video! By the 10th (or more) take, I was so over seeing and hearing myself talk I just wanted to hit post, and be done with it. Which is great! Because by this time, your nerves would have subsided significantly, and you’d know your spiel well enough to ad lib as needed. And…the more videos you do, the less time it will take (so i’m told! haha).

2. Don’t get hung up on the story navigation stats.

It’s natural to wonder if people are watching your videos. Are they forwarding, going to the next story, or exiting? I suggest ignoring the stats! It will only trigger self doubt. Think of the video stories as a personal experiment/challenge. If you can shift your focus, the stats will become less important.

3. Go unscripted and be more yourself.

When I get too focused on what I want to say, I get a bit robotic. It’s a running joke with my husband that I’m like C-3PO. Anyways,…when I’m thinking out aloud and almost talking to myself, the nerves ease for a few moments because I’m not worrying about how I’m presenting on camera. Maybe try tactic no.1 (previous post) to get you to the point where you can speak unscripted ;).

4. Don’t be afraid to use a filter!

Until recently, I was comparing my au naturel skin to other’s silky smooth filtered glow! Isn’t it crazy how we’re so hard on ourselves based on half truths and assumptions. We don’t judge others for wearing make up, right? Filters are no different. If using a filter makes you feel more comfortable and confident, I say go for it. I love the Paris filter!

5. Resize your video story clips

If I’m feeling like my face is a bit too up close and personal on screen, I reduce the image size of the video clips by pinching the screen after recording. Make sure your story is over 15 seconds because if it’s a single clip, you can’t resize the screen.

These tips have helped me with video stories. But, please remember it’s okay if you’re not ready to do them.

There’s enough pressure in our day to day that we don’t need to feel like we aren’t doing enough or giving 110% just because we’re not ready for video stories. Plus, there are plenty of other ways to connect with your audience, maybe even outside of Instagram.

Let me know if you’ve found any of these coping strategies are helpful, or if you try them out.


Who doesn’t like a good declutter to kick off a new month? I’m talking about a kon mari of the digital variety.

Digital decluttering helps me focus better. Warning: Do not use this as a procrastination technique!

The trick is to start with a few easy things to build momentum.

Here’s a checklist to get you started on a speed digital declutter:

  • Delete phone apps you no longer use and move all the ones you hardly ever use into a separate folder to free up screen space.
  • Clear your computer desktop so that you only have the essential folders and files on there. Minimise what you save to your desktop because despite the best intentions, it will “grow roots”.
  • Unsubscribe from newsletters that you no longer read. Be honest with yourself about whether you are REALLY ever going to get to the ones you’ve filed to read later.
  • Close browser tabs on your computer that are no longer relevant, or you’re unlikely to actually read. Do the same for your phone (my husband had 200 tabs open on his phone until recently. Not exaggerating.).
  • Clean up your inbox AND empty the trash afterwards. During this process, I sort my inbox by sender so I can quickly delete multiple emails from the one sender.
  • Do a speed delete of photos on your phone that are blurry, irrelevant screenshots, and snaps you’ve taken for reference and no longer need. Set a timer and see how much you get through. Great for when you’re waiting (train, coffee, appointment, school pick up).

It feels so good when you do even just one of these things. I think it must shift stuck energy or something because I always feel more motivated to get started on projects I’ve been putting off.

Are you a fan of digital decluttering?


One of the things I get asked often by business owners is how they can make their Instagram feed more visually cohesive. Whilst a “pretty” feed can be beneficial (and fun!), I believe ensuring the content you share is genuine and helpful, is equally, if not more important.

I always recommend getting really clear on your brand strategy FIRST so you have a strong foundation and clarity for what your business is about. I’m talking about your brand’s purpose/why, your brand values, how you want to make your customer’s feel, and the key messages you’re communicating with your audience. The visuals come at the end, and I promise you, it makes things ALOT easier if you do it this way.

So, here’s 4 steps to a more cohesive Instagram feed:

1. Decide on the mood for your feed

Before you start thinking about photos and editing, think about the mood you want for your feed. Start by jotting down key words. ie. light and airy, soft and elegant, warm and earthy, bold and happy. Notice how those word pairings trigger a visual feel in your mind already? From there you can create a mood board on Pinterest or use magazine cut outs. Look for inspirational images with colours that complement your brand colours.

2. Identify a colour palette

Use your mood board to identify the main colours you want in your feed. This will help guide you when choosing props, clothes and accessories for photo shoots. I like to have maybe 5-6 colours max.

3. Use a consistent filter/preset

The most popular photo editing apps are @lightroom or @vsco and you can purchase filters and presets to achieve a consistent look and feel across all your images. Just be prepared to do some additional editing tweaks yourself because you won’t be able to photograph in exactly the same lighting conditions every time.

4. Use a visual planning app

If you are super serious about planning out your images for your feed, @plannthat and @planoly are fantastic apps to use. Both have desktop versions which I love because typing captions on my phone is a bit fiddly.

Bonus tip:

If your want to introduce a new colour not previously in your colour palette, follow with at least two images with the new colour, within the next 9-12 squares. Not a hard and fast rule, but it helps the new colour blend in nicely.                       .

Hope you’ve found this helpful!